Making Fermented Vegetables and Yogurt
As little as 150 years ago almost every kitchen had their own stock of fermented vegetables and yogurt as well as sourdough starter and other fermented products. Our grandparents may have been the last generation who routinely used and created these products.
These days we are more likely to purchase our yogurt from a store and only recently have fermented vegetables come back into style. The prices of these products reflects the trendiness of them but not the ease of which we can make them ourselves. It takes very little time, very little money and makes almost no mess to make for yourself a higher quality product than you can purchase in a store.

How to Ferment Vegetables
This recipe will make up to 5 lbs of fermented vegetables.
Fermentation occurs in an anaerobic environment which allows the natural lactobacillus bacteria occurring on vegetables to flourish. We add salt into the mixture in order to promote this healthy bacteria and block the growth of any harmful bacteria.
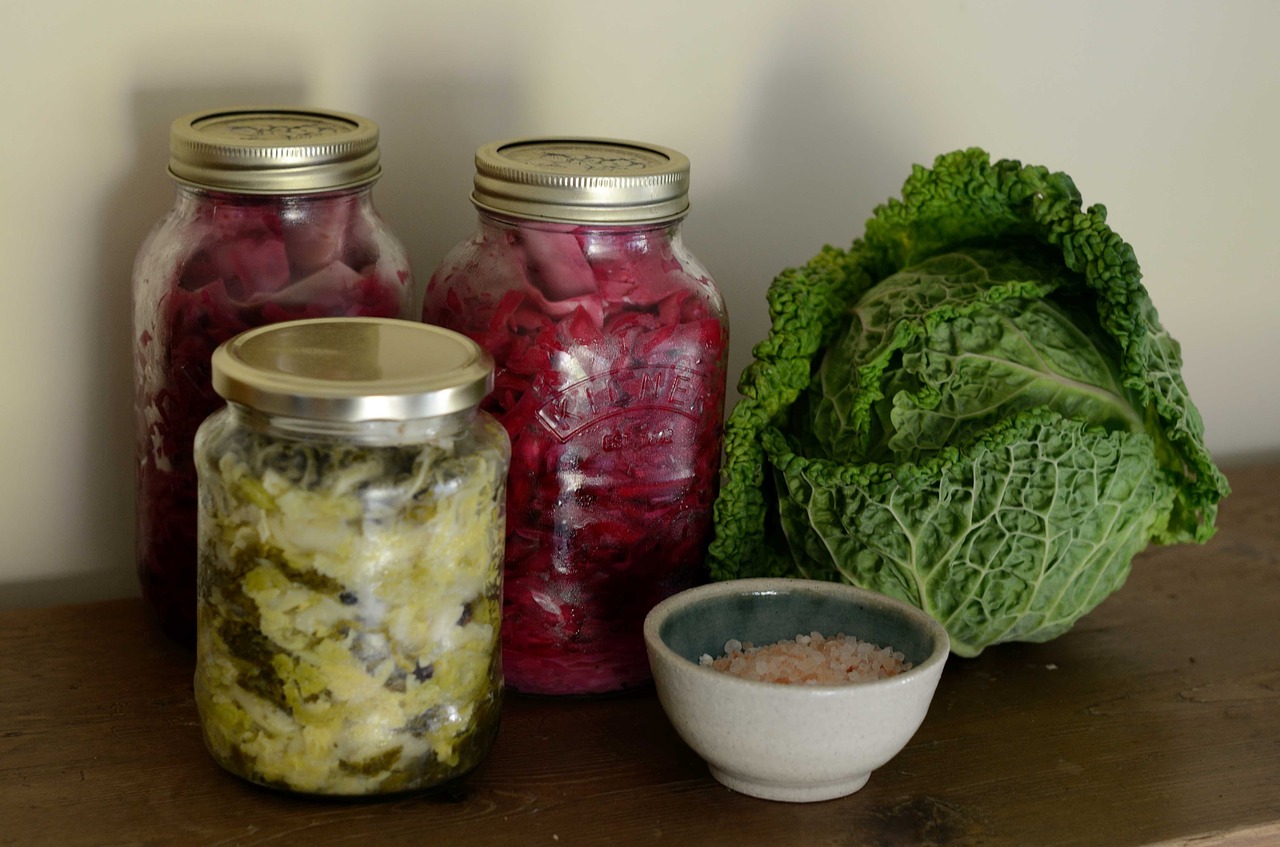
- Choose the vegetables you would like to ferment and chop, dice or shred them they way you would like. Some good choices are carrots, cabbage, apples, ginger, peppers, or beets. There are several books you can find that share recipes as well as many online tutorials. You will want to avoid any vegetable or fruit that is not firm, such as avocado or banana. The higher the quality of the vegetable, the better the outcome of your fermented product. You can add any seasonings to the vegetables but go sparingly since fermentation increases the flavor.
- You will want a container that will hold the vegetables and liquid. Wide mouth canning jars are a great resource for this, but almost any glass jar or ceramic container will do. Wash and dry this container.
- Prepare the salt mixture. You can use any type of salt, but you may prefer sea salt or himalayan pink salt. Combine three tablespoons of salt mixed with two cups of non-chlorinated water. Spring water or filtered water that has removed the chlorine is a great choice.
- (optional) Prepare the starter culture mixture. If using the previous batch, use a couple of
tablespoon up to one cup of liquid. You can also use lacto-ferment obtained from the
whey of kefir or yogurt. You can also use kombucha as a starter culture. Depending on the
culture it may soften your vegetables.
You can easily ferment without using a starter culture. The naturally occurring lactobacillus on the vegetables will ferment when immersed in the salt solution. The basic recipe for a salt only ferment is one to three tablespoons of salt for each quart of vegetables. - Mix the salt and culture mixture together and then add in your vegetables making sure to mix them thoroughly.
- Pack the vegetables into your jar firmly and make sure the salt and culture mix covers them completely. If you like you can use a glass weight over the top of the vegetables to weigh them down. Another idea is to use a large cabbage leaf for the same purpose.
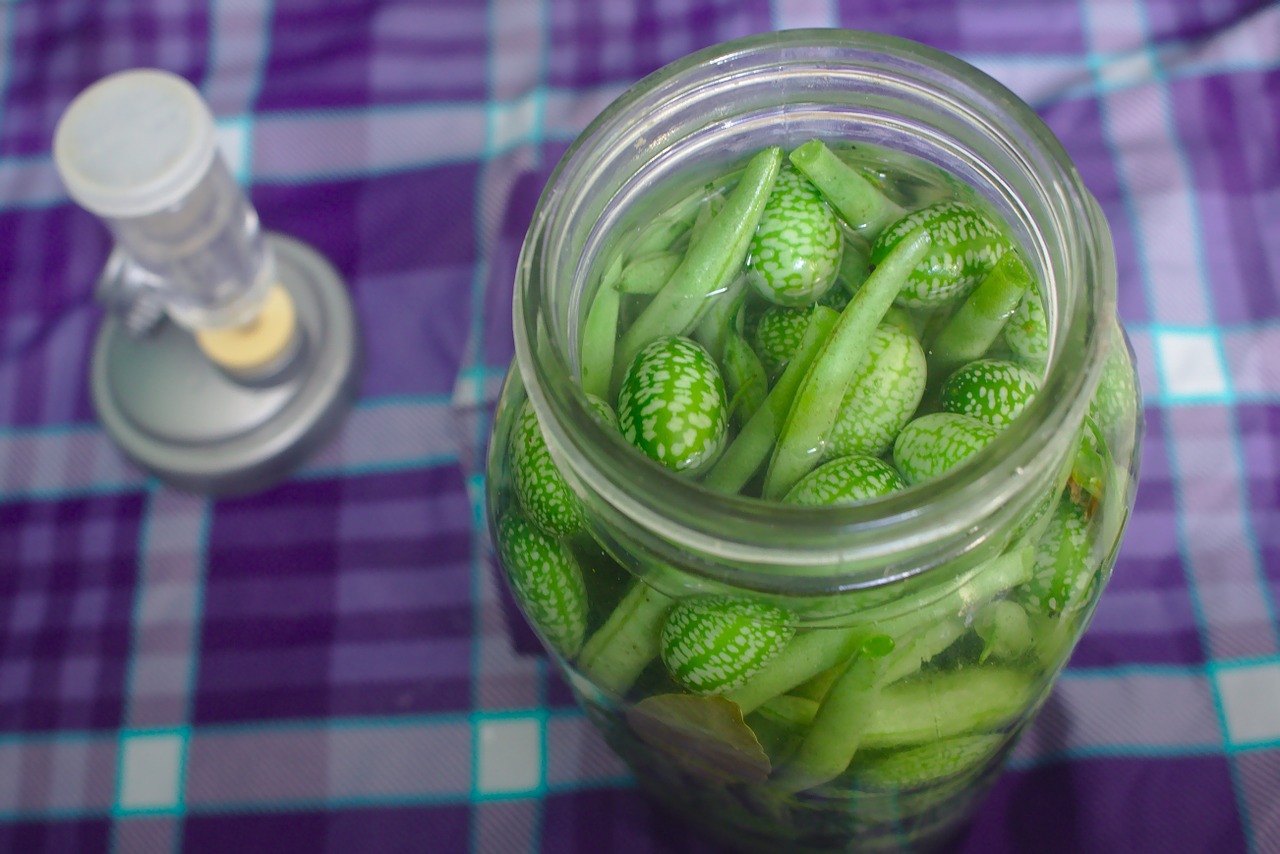
- It is best if there is about an inch or two of clear space between the fermentation fluid and the top of the jar. Cover the jar with a lid and set in an area where the temperature is between 65 and 85 degrees. It is best to place the jar onto a tray or plate. Depending on the phases of the moon, the fluid in the jar may rise and spill over if it is close to the top.
- In about 7 - 10 days the fermentation will be complete. When it is cold the process may take the longest. In hot summer days the process may happen much faster. During the process the mixture will produce bubbles and the vegetables may swell and rise upward. Using a fermentation lid can allow the pressure to regulate without burping the jar. You can also use a regular lid and just don't tighten it down too firmly.
You will likely see bubbles in your jar. You may notice a white film. This can be removed. Sometimes a white mold will grow, but this is not dangerous and can just be removed. Any dark colored mold or foul smell would indicate something has gone wrong. Any vegetable that is above the liquid may mold. Remove anything that has a black mold. You can stir your mixture to help keep the vegetables under the liquid.
You can test your vegetables to see if they are ready by simply removing a little from your jar. If it is not ready, make sure your vegetables are under the liquid and close the jar as before then continue to ferment until a desired state has been reached. Be sure to store your fermented vegetables in the refrigerator. They will keep for several weeks.
Things you might like for vegetable fermenting:


How to Make Yogurt

Making yogurt at home is a time honored tradition that unfortunately has been lost in our modern world. The live cultures that create yogurt out of milk consume the lactose of the milk and make the milk thicker as a result.
Type of Milk
You can use various types of milk to make yogurt from fat free to whole milk. Just make sure the milk you choose is not 'ultra' pasteurized as this will reduce the bacteria's ability to use the milk. You can also use goat milk, but since it naturally has less lactose the yogurt produced may be thinner. Other types of milk such as almond or coconut milk can be attempted, but depending on the sugar content the results may vary. Keep in mind that the bacteria in your yogurt culture must eat in order to produce the yogurt.
Yogurt Machine or Slow Cooker Method
If you are using a yogurt machine, you can use any other active live culture, plain yogurt as a starter. If you want a thicker yogurt you will heat the milk to 150 degrees but stir it often to make sure you do not scald it. Cool the milk to about 110 degrees. You can also just start with room temperature or slightly heated milk. Stir the milk and yogurt together and then place the yogurt into the jars for your machine. Do not put tops on the jars. Once you have the machine loaded you will start it according to the machine directions. It will take about 8 - 10 hours to run and then your yogurt will be ready. If you have a slow cooker, you can use that in place of a yogurt machine. Just set the slow cooker on its lowest setting and place your jars into the container with their tops off. It will take about 8 - 10 hours at 110 degrees and then your yogurt will be ready.
Heirloom Yogurt Culture Method
If
you are making yogurt with an heirloom culture, you do not need to
heat the milk at all and you do not need a yogurt machine. Just mix
one tablespoon of the starter culture for each cup of milk you use.
Mix the culture together with cold milk that is just pasteurized -
not ultra pasteurized. Place the mixture into a jar that you can
loosely cover with a coffee filter or cheese cloth. Place in an area
that will be between 65 degrees and 85 degrees. This process will
take about 24 hours to finish.
If you are making your heirloom starter culture from a dried powder, use the package
instructions to mix your first batch and don't be alarmed if you have to make a batch or two before
your yogurt begins to firm up to your desired thickness.
Storing Yogurt
Whatever method you use, place your finished yogurt into the refrigerator. It will keep for up to 3 weeks. Be sure to retain at least 8 ounces of heirloom yogurt to make your next batch. Heirloom yogurts retain their strength indefinitely if you make a new batch within a week or two. If you are using a store bought yogurt to make yogurt in a machine, you will probably have best results if you start with a new plain yogurt each time.
Greek Yogurt
This type of yogurt can be created from any yogurt. You will use cheese cloth or muslin to strain the yogurt. Place the cloth in a bowl and then pour the yogurt into the cloth. Tie the ends of the cloth and then suspend the cloth over the bowl for about 12 to 24 hours (this is best done in a refrigerator). The bowl will collect whey which can be used for many other cooking recipes or smoothies. Once the yogurt is strained you scrape it out of the cloth and it will keep in the refrigerator as long as normal yogurt.


How to Make Kombucha

Marti Ewing is a kombucha tea making expert and you can find her guide on her website, as well as find the next class to give you a hands on training in kombucha making. Marti's Kombucha Page
Here is her link to the instructions: Kombucha Instructions


Would you like to have a yoga mat that meets your individual needs? The modern world of yoga mats is filled with a multitude of choices. This review will quickly and easily guide you through the important differences...

Do your wrists bother you in some yoga poses? You are not alone. Learn how to avoid this common complaint and how to increase your wrist strength and comfort...
Increasing the protein in your diet can allow you to achieve greater strength gains and enhance your recovery from exercise. Protein powders are a great way to bring in extra protein without a lot of extra calories. Learn the differences between the many types...

Hoodies and yoga go great together...

This little gadget does wonders for the hand...
| Sign up for Jbyrd Yoga News and Events |
Upcoming Seminars
with Julie
Saturday's 1 - 2pm
Free - Deep Breathing Workshop
Register for Zoom Workshop
Live-stream Classes Online
Core Conditioning
Wednesdays 12:30pm
Intermediate Yoga
Thursdays 1pm
Workout With Julie
Friday 11am
All Level Yoga
Saturday 10am
My Instagram
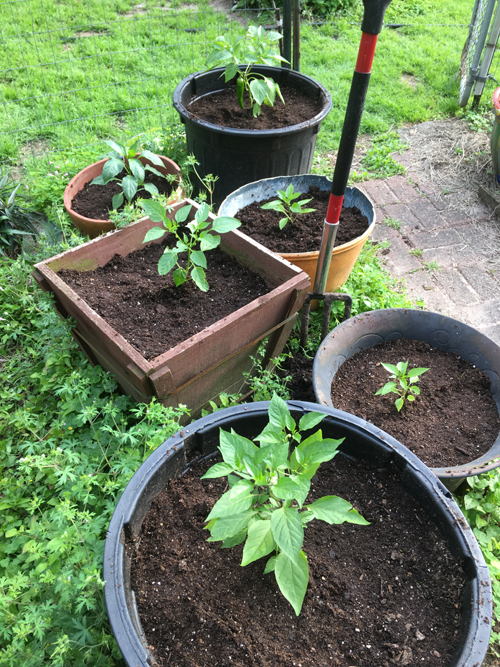
Just got the peppers in their pots.
Latest Articles

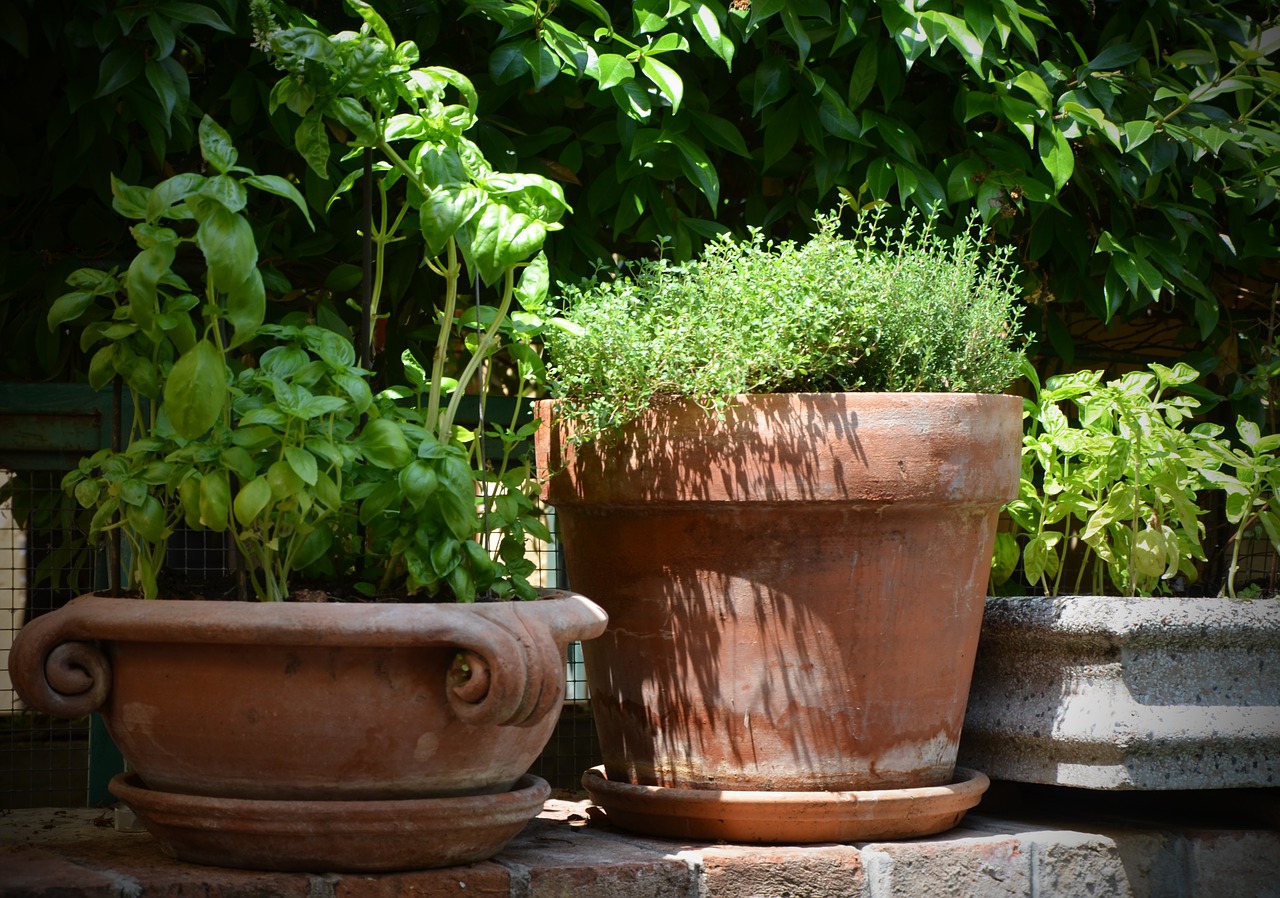
- Growing a Container Herb Garden
There is nothing better than fresh herbs from your garden. They are useful for cooking, they smell heavenly and they look so beautiful... Mar 25, 2019
- Getting the Most Out of Fermented Foods
Sometime in the last 150 years we went from a culture that had a rich history of fermenting foods and became a culture that is obsessed with clean, sterile environments... Feb 10, 2019

Great ideas for yoga gifts...

Heart Rate Monitor Review...

Read this review of ergonomic sitting solutions...


Society 6
Jbyrd Yoga Collection
Yoga inspired artwork on tshirts, leggings, tote bags and more...
Organic gardening adventures...

Tales inspired by little furry tails...